Applies to: Clarett Range
To connect your Clarett to a PC with a Thunderbolt port, please follow these steps:
1. Ensure that your computer has a Thunderbolt port. Thunderbolt 1 and 2 ports have a 'display port' shape connector, but can be differentiated from regular display ports by the Thunderbolt logo being printed above the port.
Thunderbolt 3 ports have a 'USB-C' connector. Again, these can be differentiated from USB 3.1 ports by the Thunderbolt logo being printed above the port.
Thunderbolt logo: ![]()
For information on Thunderbolt 3 supported systems please click here.
2. Download the latest version of Focusrite Control, this will also install the necessary driver. You can find the latest version by navigating to the Downloads section of our site and selecting your interface from either dropdown menu.
NOTE: Thunderbolt 3 support requires Focusrite Control 2.1.9 or later, which can be obtained from our beta site.
3. Connect your Clarett to the computer, then switch it on.
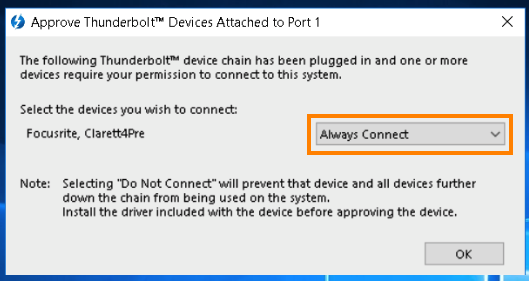
4. You should receive a notification from the 'Thunderbolt Software' program on your computer that a Thunderbolt device has been connected. Select the 'Always Connect' option, then press OK (you will only have to perform this step the first time you connect your Clarett).
5. Windows will then assign the driver to the Clarett.

6. Open Focusrite Control (Windows Menu > All Apps > Focusrite > Focusrite Control), if a firmware update for your unit is required you will be prompted to update.
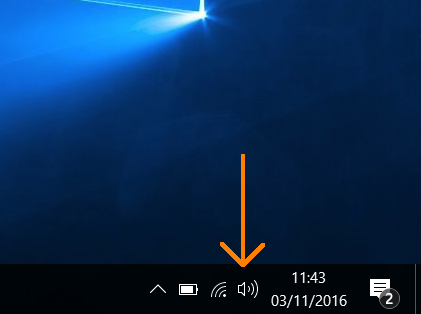
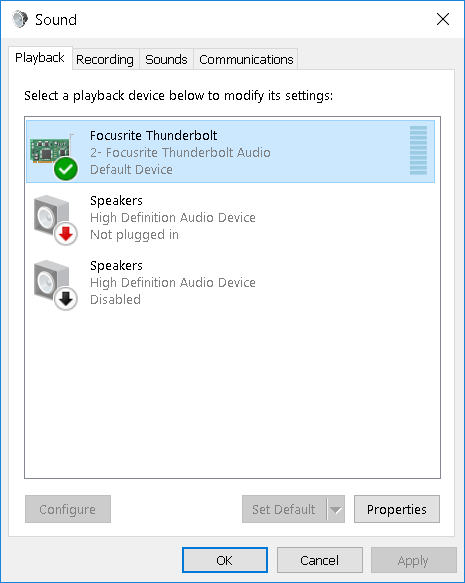
7. Select your Clarett as the default Playback device if you wish to use it to play back audio from Windows applications (e.g. through your web browser, media player etc.). To do this, right-click the sound icon in the lower right corner of the screen, then select 'Playback Devices'.
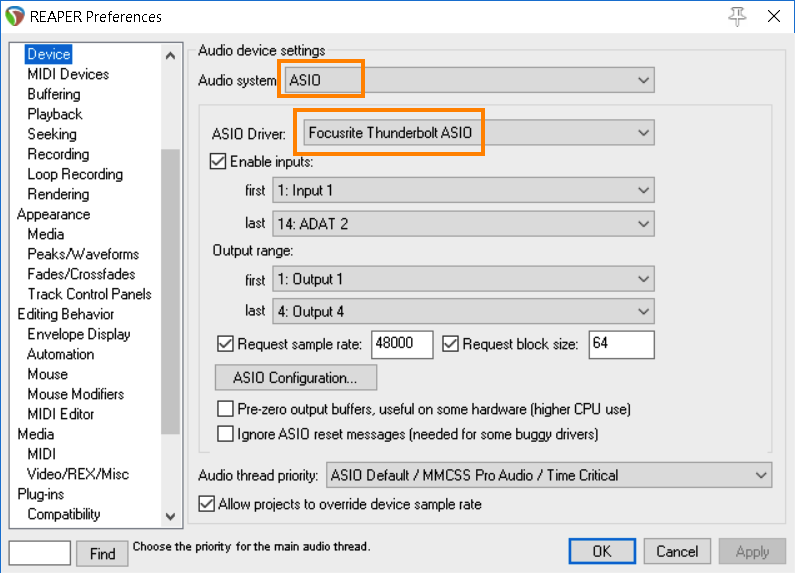
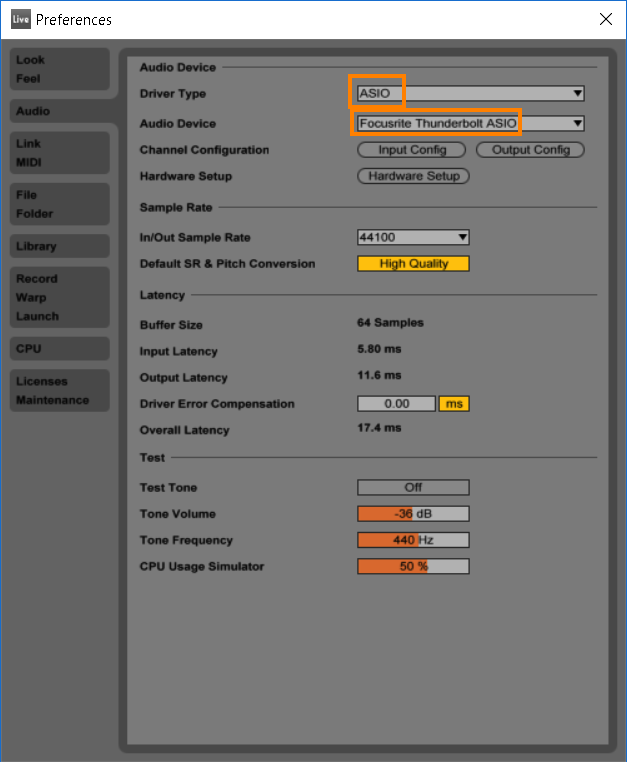
8. Select the 'Focusrite Thunderbolt ASIO' driver in your DAW to use the Clarett with your recording software (examples showing Reaper/Ableton below).
If you encounter any problems you may wish to read our Clarett Windows Troubleshooting guide.